(Still a partial walkthrough: building summary complete.) |
(added a few links to help out) |
||
| Line 42: | Line 42: | ||
<br clear=left/> |
<br clear=left/> |
||
==Building and Defence Recipes== |
==Building and Defence Recipes== |
||
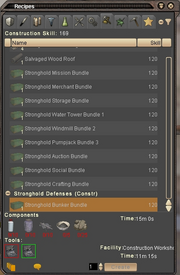
| − | [[File:Stronghold_Buildings_Recipes1.png|thumb|left|Stronghold Building Recipes]]The list of recipes shown to the left is the same for Progress Town, Stronghold and Citadel; however, you can only place Progress Town buildings in Progress Town, Stronghold buildings in Stronghold, and Citadel buildings in Citadel. |
+ | [[File:Stronghold_Buildings_Recipes1.png|thumb|left|Stronghold Building Recipes]]The list of recipes shown to the left is the same for Progress Town, Stronghold and Citadel; however, you can only place [[Item: Progress Buildings|Progress Town buildings]] in Progress Town, [[Item: Stronghold Buildings|Stronghold buildings]] in Stronghold, and [[Item: Citadel Buildings|Citadel buildings]] in Citadel. |
| − | Similarly, Progress Town buildings can only be made with Progress Town foundations, frames, siding and |
+ | Similarly, Progress Town buildings can only be made with Progress Town foundations, frames, siding and roofs; Stronghold buildings with Stronghold pieces, and Citadel buildings with Citadel pieces. |
| − | The components shown in the image to the left are the components for a [[Stronghold Bunker]]. |
+ | The components shown in the image to the left are the components for a [[Item:_Stronghold_Bunker_Bundle|Stronghold Bunker]]. |
| − | Progress Town buildings and defences require Construction, Science, Nature and/or Medicine [[tradeskills ]]at skill 90. Stronghold at skill 120, and Citadel at skill |
+ | Progress Town buildings and defences require Construction, Science, Nature and/or Medicine [[tradeskills ]]at skill 90. Stronghold at skill 120, and Citadel at skill 150. |
| − | The buildings vary in how essential they are: Bunkers and Medical |
+ | The buildings vary in how essential they are: Bunkers and Medical defenses are the most crucial. Without them, defending a Progress Town is extremely difficult; and probably impossible at the recommended levels for the area. |
| − | [[File:Stronghold_Buildings_Recipes2.png|thumb|Stronghold Buildings continued]]Once it is up, a Mission building will allow you to get the town's Mission - giving you more XP and additional rewards for defeating each raid. A Merchant building provides a special Progress Town merchant inside the building, and a 'Convenience Merchant' outside. |
+ | [[File:Stronghold_Buildings_Recipes2.png|thumb|Stronghold Buildings continued]]Once it is up, a [[Citadel Mission Bundle|Mission building]] will allow you to get the town's Mission - giving you more XP and additional rewards for defeating each raid. A [[Progress Merchant Bundle|Merchant building]] provides a special Progress Town merchant inside the building, and a 'Convenience Merchant' outside. |
| − | The Crafting building is a workshop, the Auction building provides an Auctioneer, and the Storage building is a set of all four vaults plus a mailbox. This trio is extremely helpful for constructing the rest of the progress town! |
+ | The [[Stronghold Crafting Bundle|Crafting building]] is a workshop, the [[Progress Auction Bundle|Auction building]] provides an Auctioneer, and the [[Stronghold Storage Bundle|Storage building]] is a set of all four vaults plus a mailbox. This trio is extremely helpful for constructing the rest of the progress town! |
| − | The last of the important buildings is the Social building: this provides a bar, which produces significant buffs. I recommend placing it next to the buildings people linger in: the vaults and the workshop. |
+ | The last of the important buildings is the [[Citadel Social Bundle|Social building]]: this provides a bar, which produces significant buffs. I recommend placing it next to the buildings people linger in: the vaults and the workshop. |
| − | The Water Tower, Windmill and Pumpjack attract both resources and creatures to the area around the town: the resources and creatures attract players. Be aware that the difficulty level of each raid is calculated based on how many players are in the vicinity of the town; not on how many are actively defending it. |
+ | The [[Progress Water Tower Bundle 1|Water Tower]], [[Stronghold Windmill Bundle 2|Windmill]] and [[Citadel Pumpjack Bundle 3|Pumpjack]] attract both resources and creatures to the area around the town: the resources and creatures attract players. Be aware that the difficulty level of each raid is calculated based on how many players are in the vicinity of the town; not on how many are actively defending it. |
Revision as of 00:24, 1 June 2012
What is a Progress Town?
Progress Towns are player-created cities; there are three of them. In Sector 2 (Northfields), there is Progress Town. In Sector 3 (Kaibab Forest), there is Stronghold. In Deadfall, there is Citadel. The process for constructing and defending the Progress Towns is the same for all of them, though each has different enemies, and must be made with their own materials. You can't use Progress Town equipment to construct Citadel.
Each town has a starter building, with a Town Crier, and a Recipe Merchant. The Crier can explain the town to you, and the Merchant sells you the recipes you need to construct the town.
Arriving at an empty Progress Town
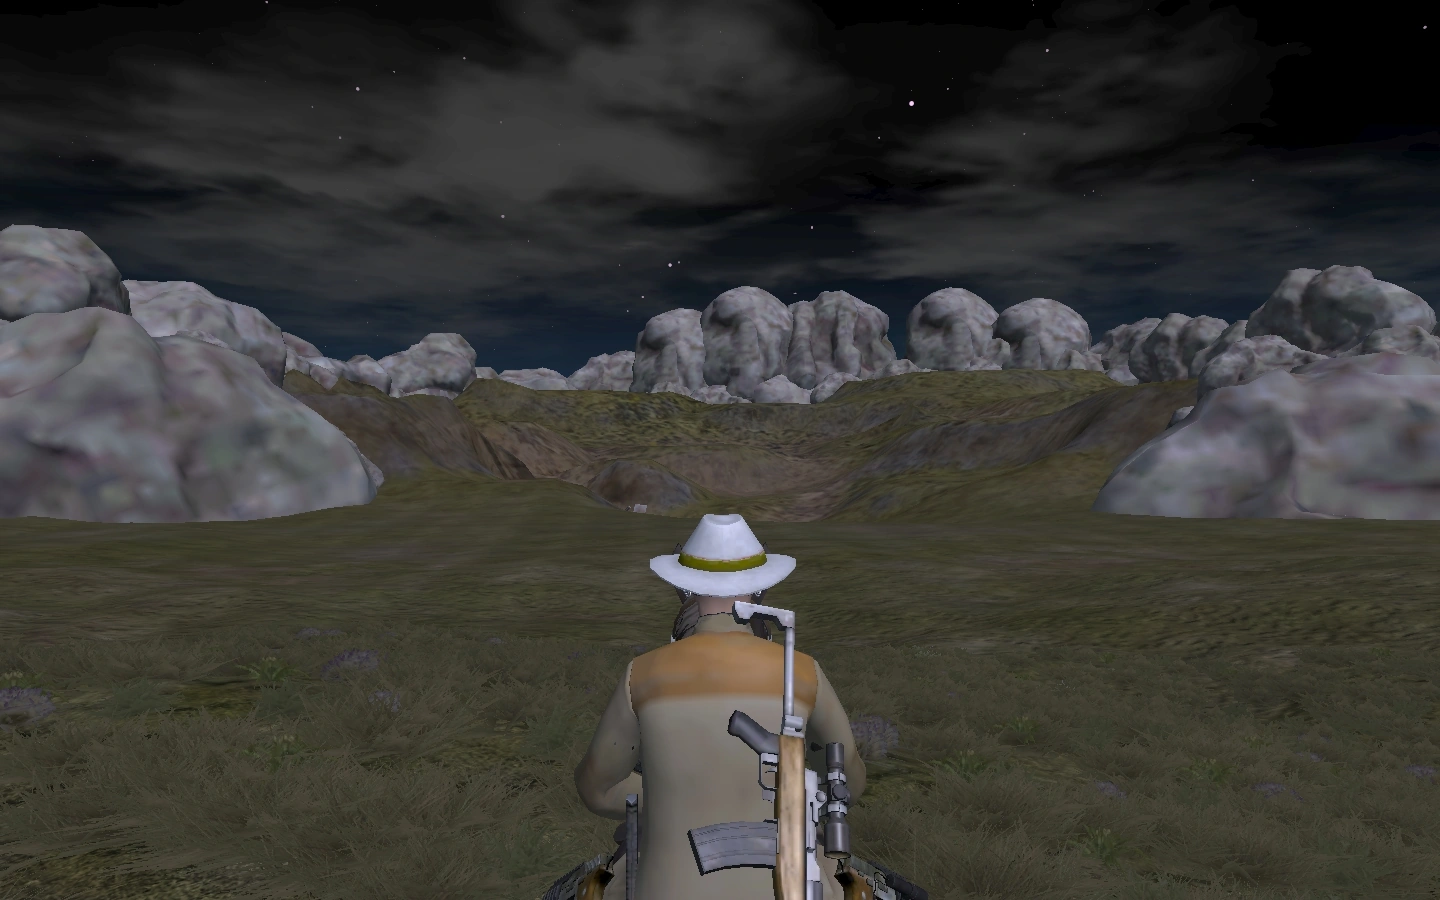
Stronghold, Empty
The images in this tutorial come from the rebuilding of Stronghold. There's no particular reason for choosing Stronghold: I just happened to be there after it had been wiped (taken over and destroyed by the Judges); and took the opportunity to make a photographic record of how to rebuild a Progress Town.
As you can see, from a distance there's nothing there. Just empty land, surrounded by rocks.
The rocks are actually a great defensive barrier. The enemy will only arrive from the front - and random creatures will never climb over the rocks to get into the town.
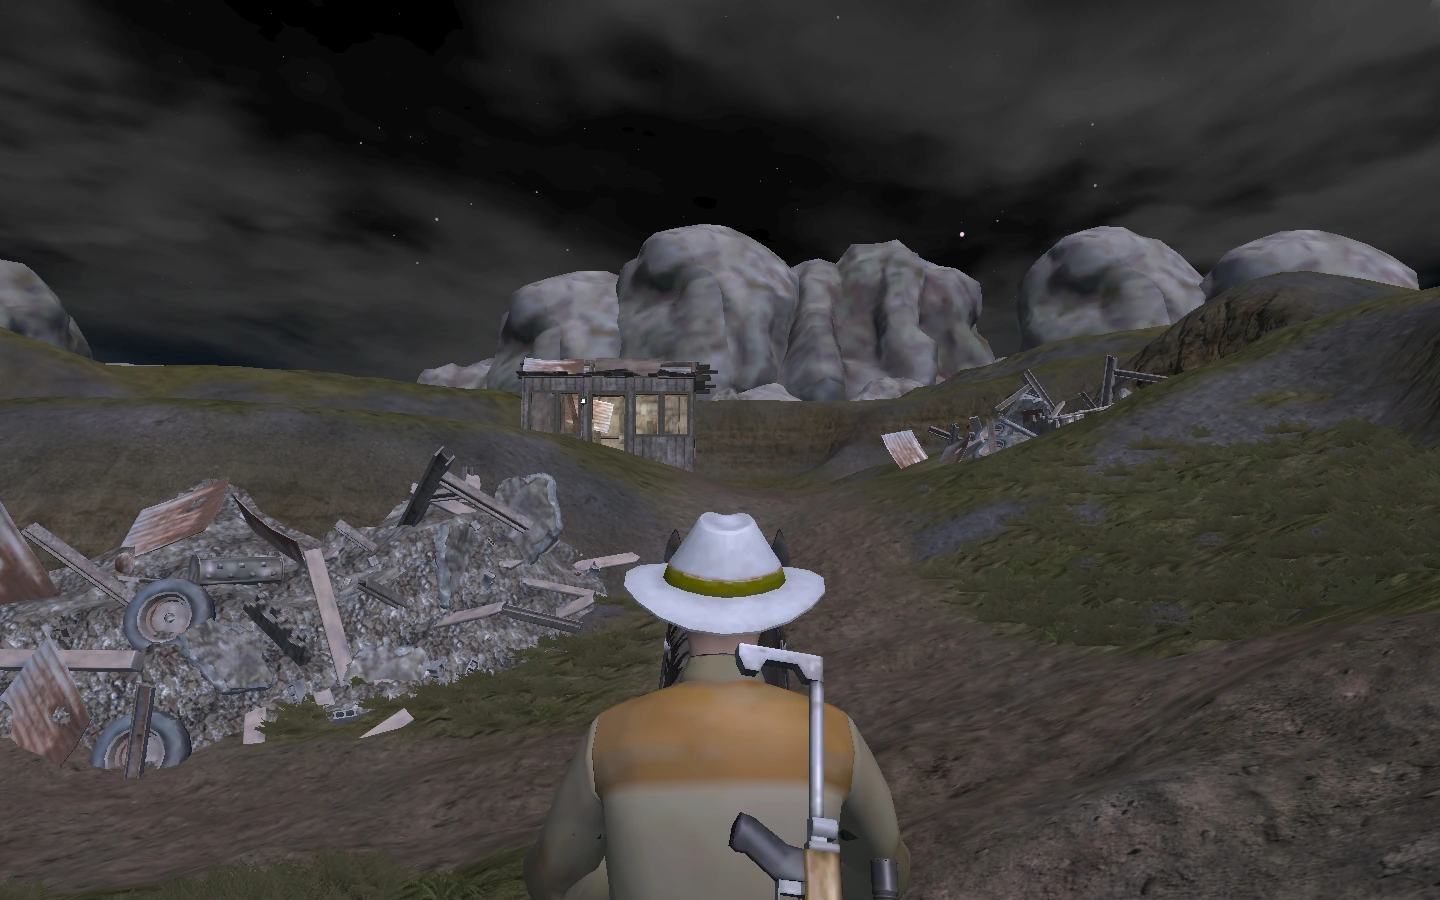
Arriving at Town Crier
The Town Crier's building always survives a wipe. No matter what else is lost, that building is in the Progress Town. You can find it on the map and the minimap as the building with the blue 'town event' house emblem.
The image on the right shows me approaching the Town Crier's building at Stronghold. The building looks the same in Progress Town and in Citadel.
Town Crier and Recipe Merchant

Town Crier
Inside the Town Crier's building are both the Crier and the Recipe Merchant.
The Town Crier's introductory paragraph tells you whether the town is under player or enemy control, how many buildings and defences there are, how many players are nearby (including yourself), and how long until the next attack.
(Note: the difficulty of an attack is affected by the number of players and defences in/near the town. The more players and the more defences, the harder the town will be to defend.)
You cannot place buildings or defences if the enemy controls the town.
If the enemy does control the town, you need to run around killing the enemy until all of them are dead - and they can be anywhere within the space defined by the rock barrier.

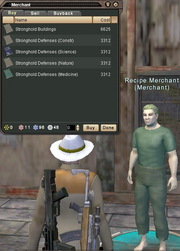
Recipe Merchant
Once the enemy are all gone, you can start to place buildings. Turn to the recipe merchant. (If you already have the recipes for this particular Progress Town, you don't need to buy them again.)
The recipe merchant sells the recipes for the town's buildings, and for all three categories of town defences.
Progress Towns are defended by bunkers; which each support (FIXME: five?) soldiers. You can place a maximum of five bunkers per town.
The soldiers are healed and respawned by medical defences; which resemble the medical cart scavenging nodes. You can place a maximum of five of these, and they are best placed as close as possible to the bunkers - one for each.
Science defences are mines; essentially land mines which only the enemy can trigger.
Nature defences are "tame" hydra weeds. The enemy detests them, and will attempt to kill them - they can be healed with standard healing mutations and first aid.
The enemy will also attempt to destroy the generators for the bunkers: if they succeed, the bunker will be destroyed. I strongly recommend defending your bunkers; they're a pain in the patootie to reconstruct.
Building and Defence Recipes

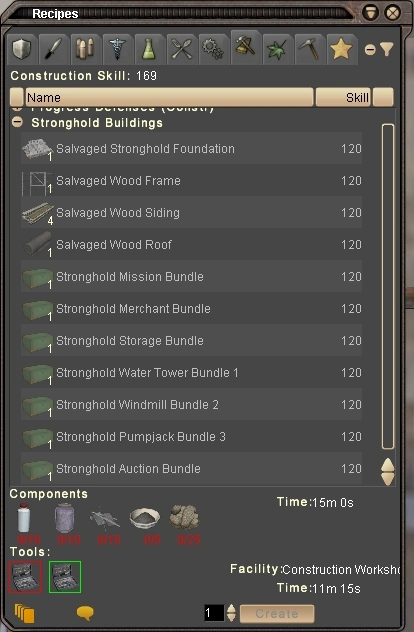
Stronghold Building Recipes
The list of recipes shown to the left is the same for Progress Town, Stronghold and Citadel; however, you can only place Progress Town buildings in Progress Town, Stronghold buildings in Stronghold, and Citadel buildings in Citadel.
Similarly, Progress Town buildings can only be made with Progress Town foundations, frames, siding and roofs; Stronghold buildings with Stronghold pieces, and Citadel buildings with Citadel pieces.
The components shown in the image to the left are the components for a Stronghold Bunker.
Progress Town buildings and defences require Construction, Science, Nature and/or Medicine tradeskills at skill 90. Stronghold at skill 120, and Citadel at skill 150.
The buildings vary in how essential they are: Bunkers and Medical defenses are the most crucial. Without them, defending a Progress Town is extremely difficult; and probably impossible at the recommended levels for the area.

Stronghold Buildings continued
Once it is up, a Mission building will allow you to get the town's Mission - giving you more XP and additional rewards for defeating each raid. A Merchant building provides a special Progress Town merchant inside the building, and a 'Convenience Merchant' outside.
The Crafting building is a workshop, the Auction building provides an Auctioneer, and the Storage building is a set of all four vaults plus a mailbox. This trio is extremely helpful for constructing the rest of the progress town!
The last of the important buildings is the Social building: this provides a bar, which produces significant buffs. I recommend placing it next to the buildings people linger in: the vaults and the workshop.
The Water Tower, Windmill and Pumpjack attract both resources and creatures to the area around the town: the resources and creatures attract players. Be aware that the difficulty level of each raid is calculated based on how many players are in the vicinity of the town; not on how many are actively defending it.